Editing photos
Change the mood
Who knew one of the things that would get my creative juices flowing is editing photos. Oddly enough, sometimes I actually enjoy this process much more than actually taking photos itself. That's probably because editing can change the mood drastically, so here are some tips I'd like to share.
So you got a few photos you want to take it a notch up. Before reading on editing photos, you may want to read about how to take a decent photo.
Editing apps
There are thousands of photo editing apps out there but the 3 options I would highly recommend is Lightroom, VSCO, or Snapseed.
Change the mood
Next think of a mood you want to achieve - happy, dramatic, light, airy etc. I always try to remember how I felt when I took the photo, did it feel cool, look dark, was it a warm sunny day, did it make me feel comfortable, at peace or describe the vibe you felt. These things really help the direction I want to take the photo.
Once you determine the mood, you can start the editing process to create the mood.
Side note: To make this process a lot easier in the future, learn about colour theories or universal design principles.
Straightening
Before I start to edit the colours of the photos, I would straighten the photo and do lens correction (mostly for DSRL photos), if needed. Most of the time, this is usually applied to tall buildings or objects that are meant to be straight - so it does not look warped.
In Lightroom under geometry > upright > auto. Or manually use the vertical slider.
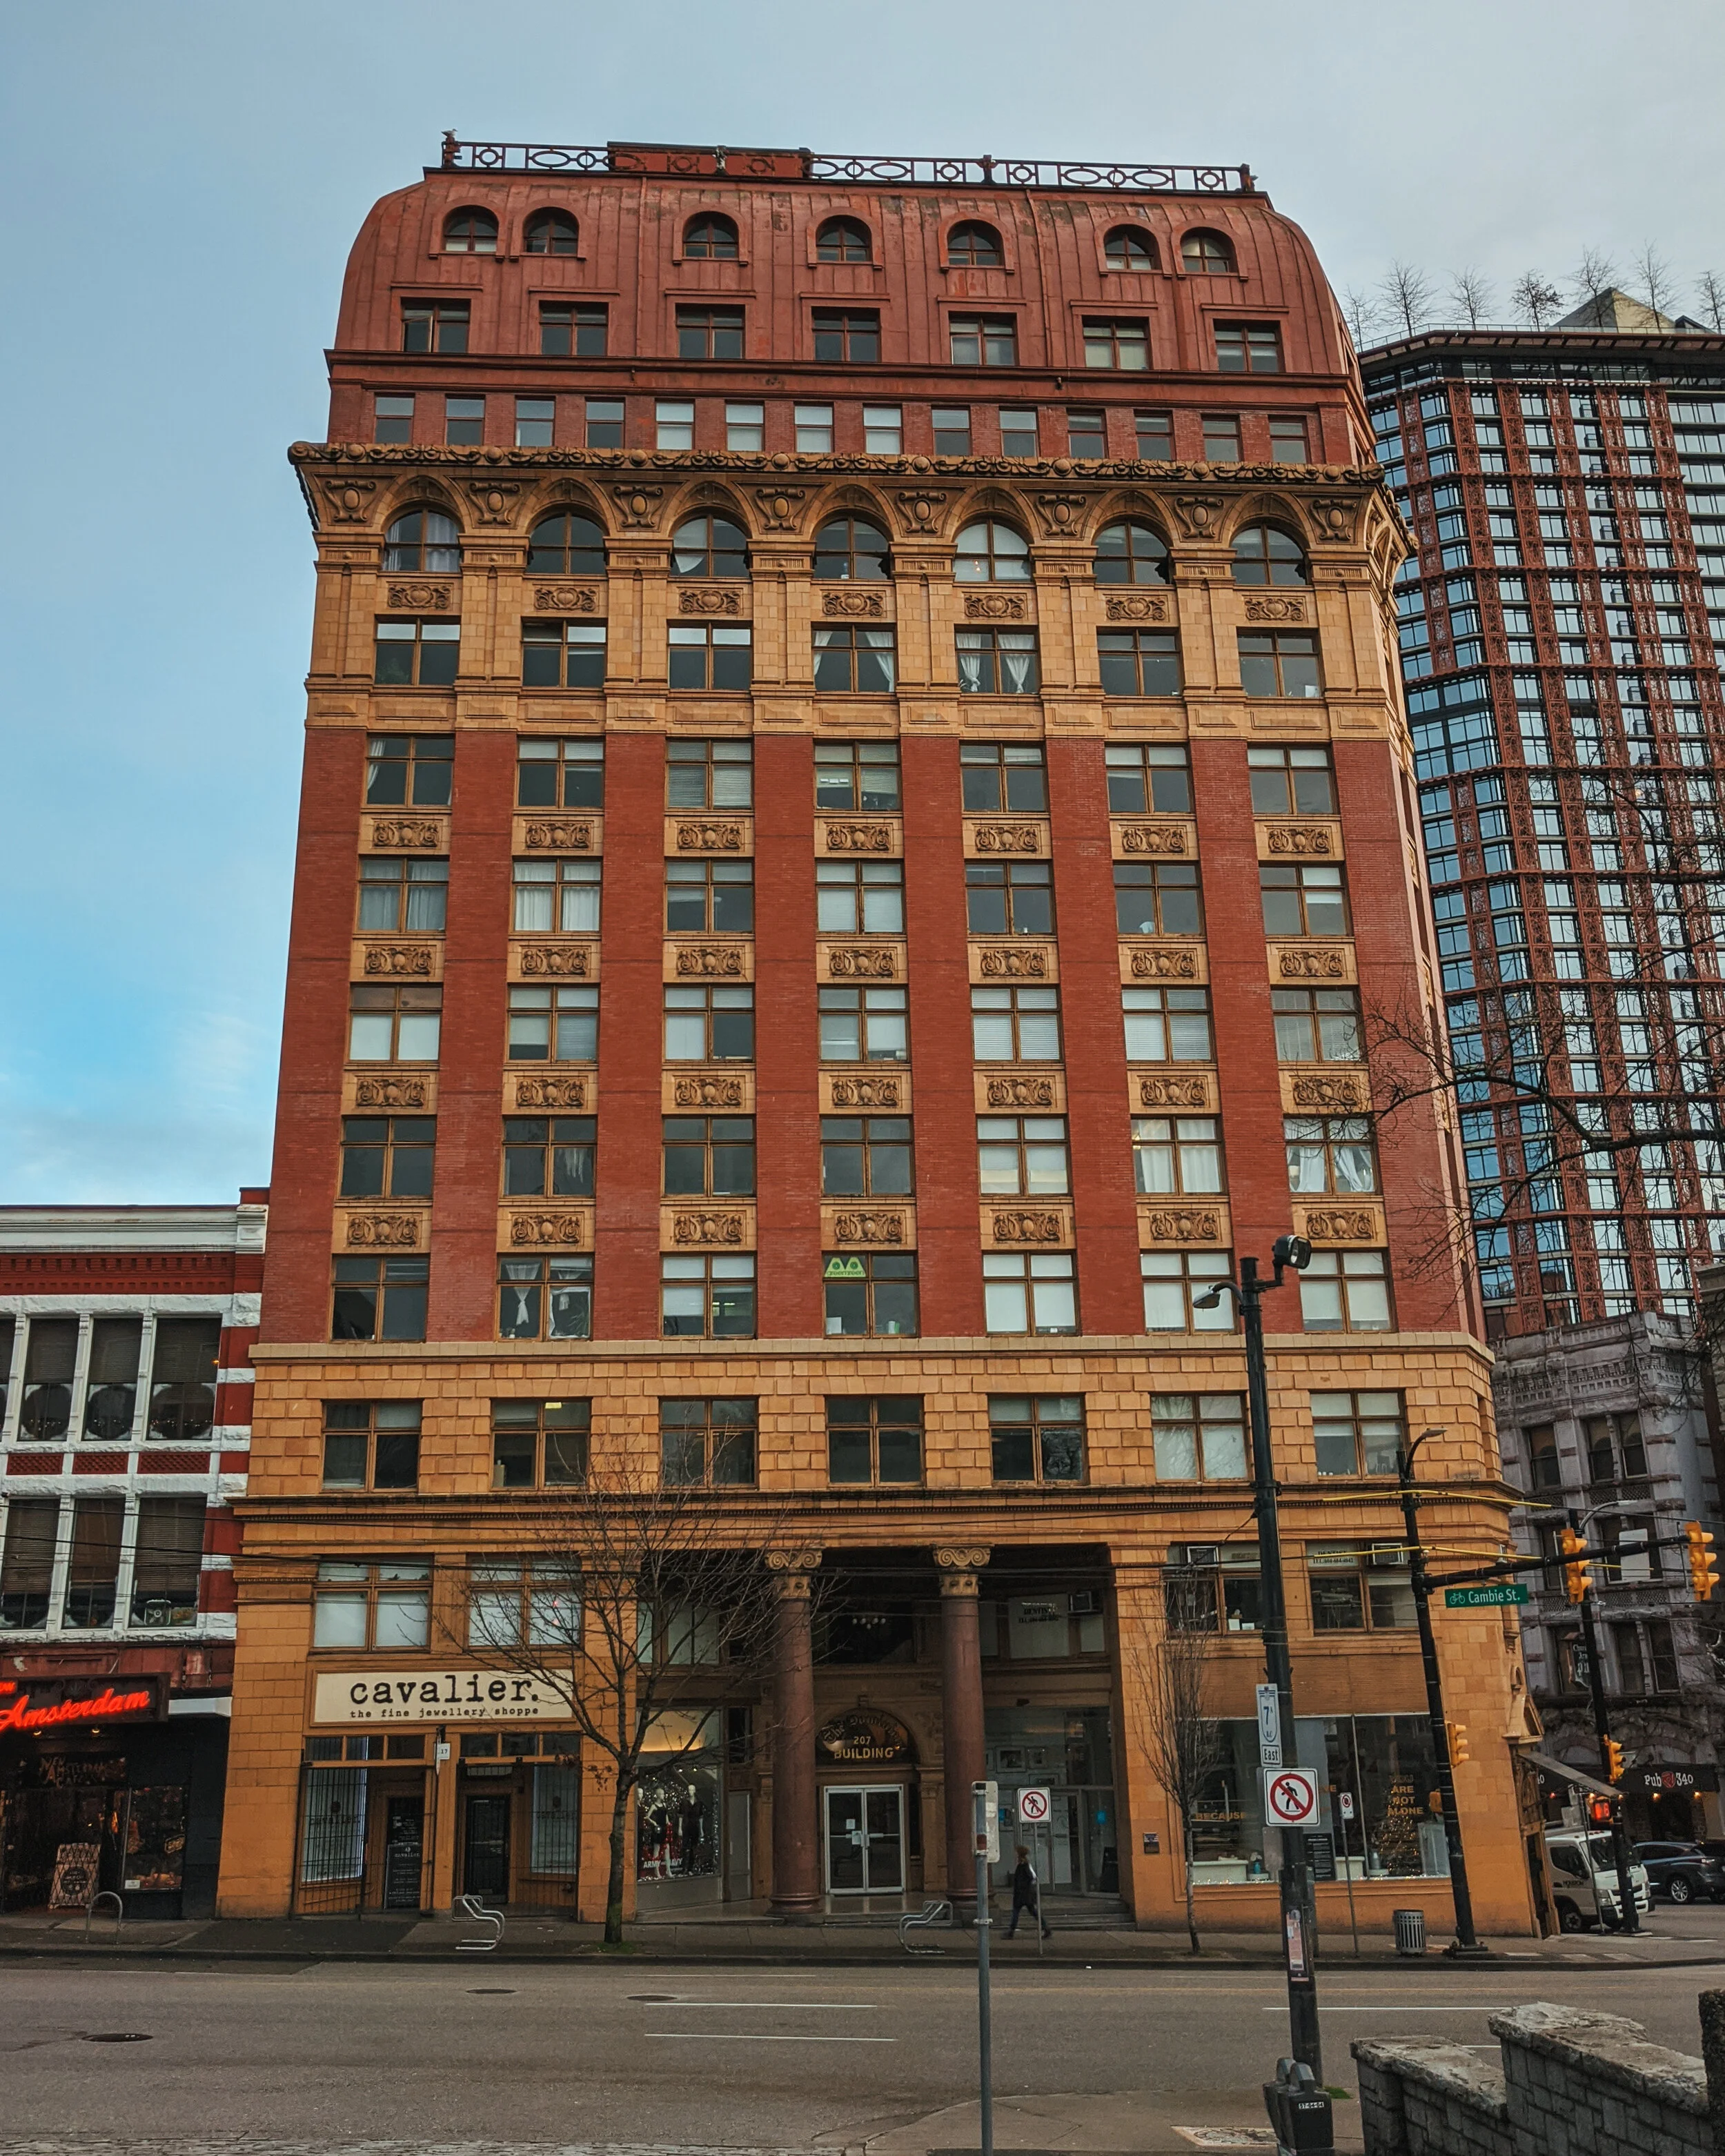
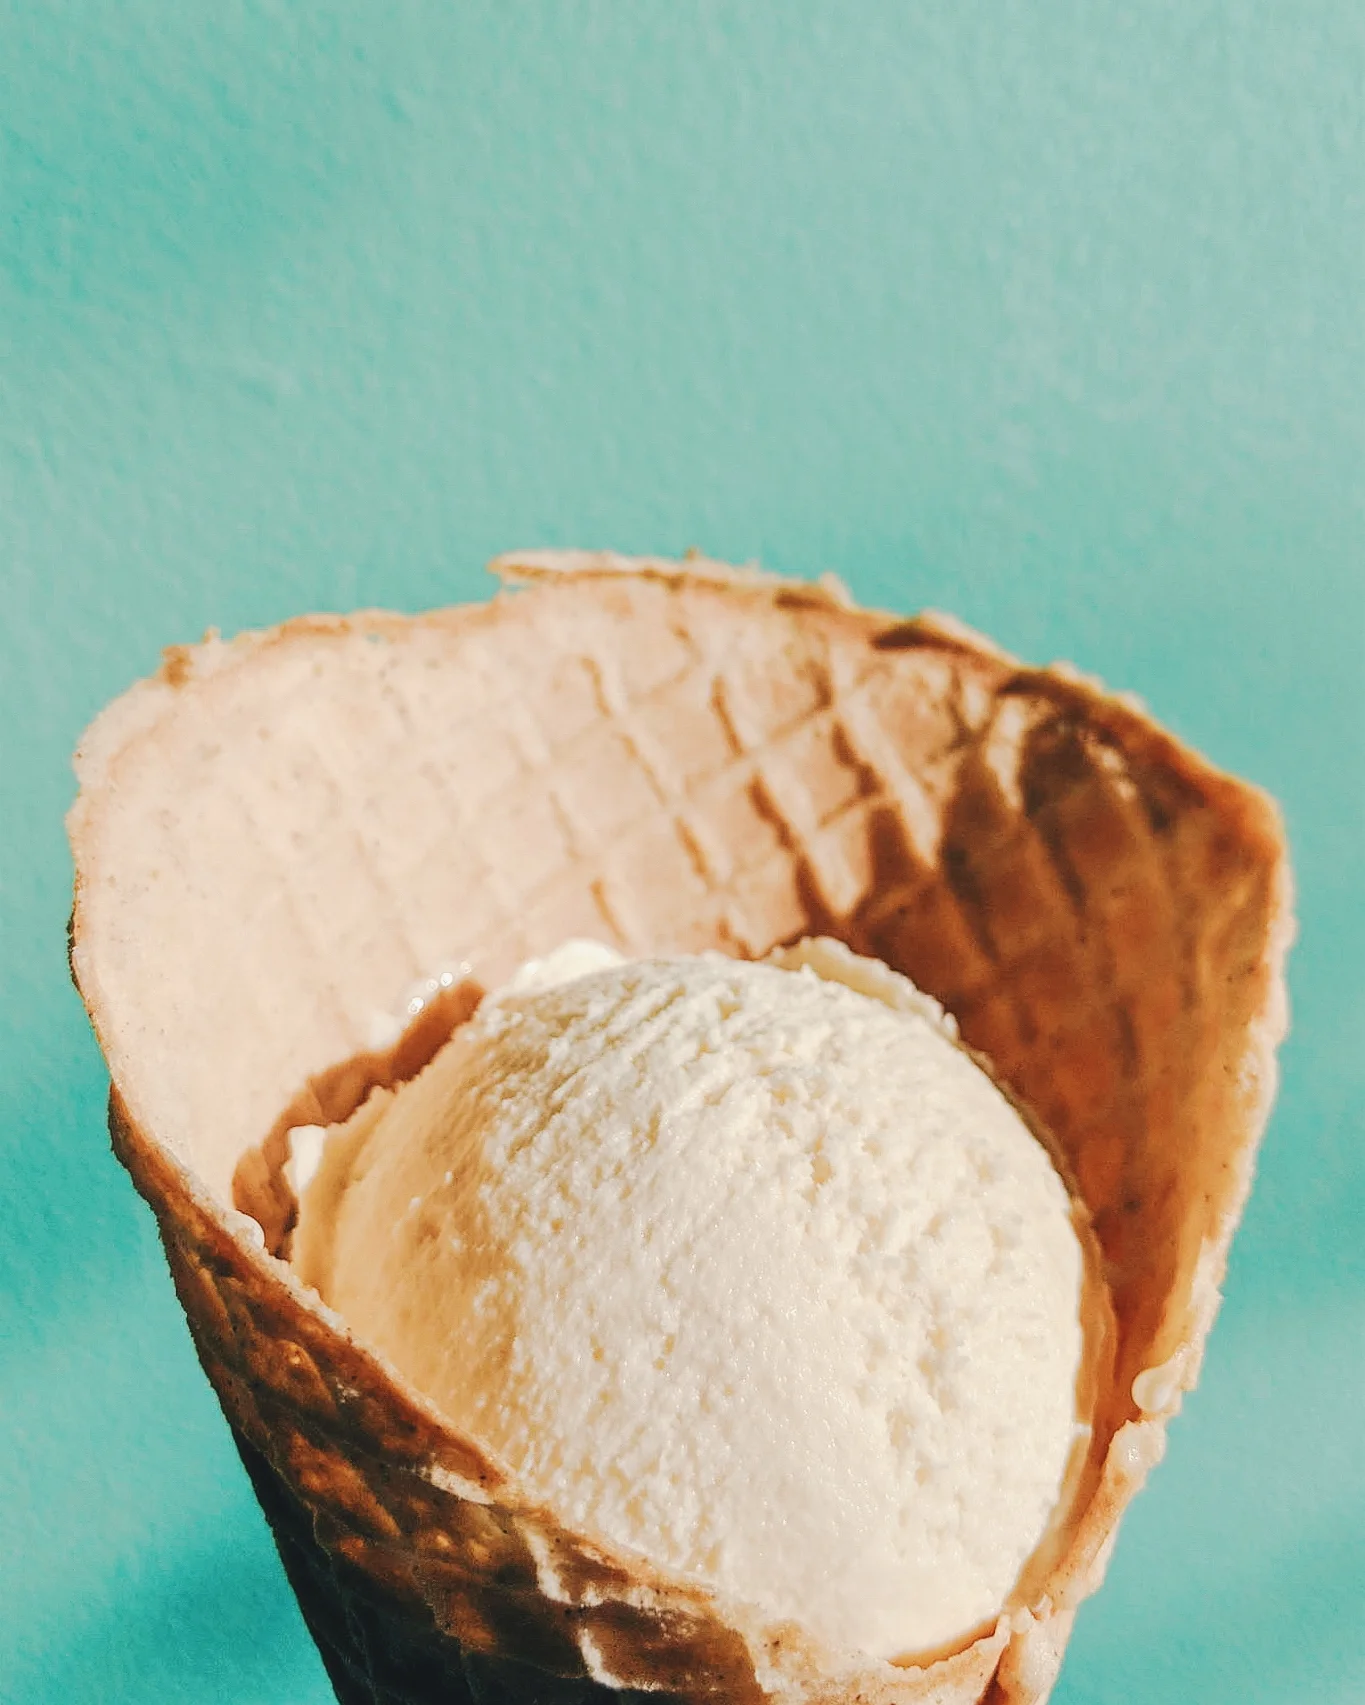
Before

After
Editing
A few things I start to play around with is:
Exposure - To brighten the image. Bright things in general makes things look exciting. Also, capable of doing the opposite but darken the mood.
Contrast - To make a pop a little.
Highlights - If the image is over exposed, use it to bring it down.
Shadows - If an image is too dark, bring it up but note, it can make your image grainy and create noise.
Temperature - Usually try to balance it out, unless I am going for a a cool or warm mood.
Vibrance - Can be used to increased muted colours but not impact the areas that are already deepen.
Saturation - Can be used to deepen the colour or reduce colours. It usually applies to the whole photo.
Colour mix - Use to brighten or desaturate a certain colour. E.g. Changing the type of the blue in the sky only.
Curve - I usually go for an “S” shape in the curve to get this faded look and to remove some shadows.
Don’t be afraid to play around because you can undo most things. Your aim is to give it a mood, so it's a little more exciting and brings out details/focus. You can also duplicate a photo and make 2 separate edits.
Cropping
Cropping has turned unusable photos to useable photos (many times over). It can create mystery, bring focus to the subject or just make it visually pleasing.

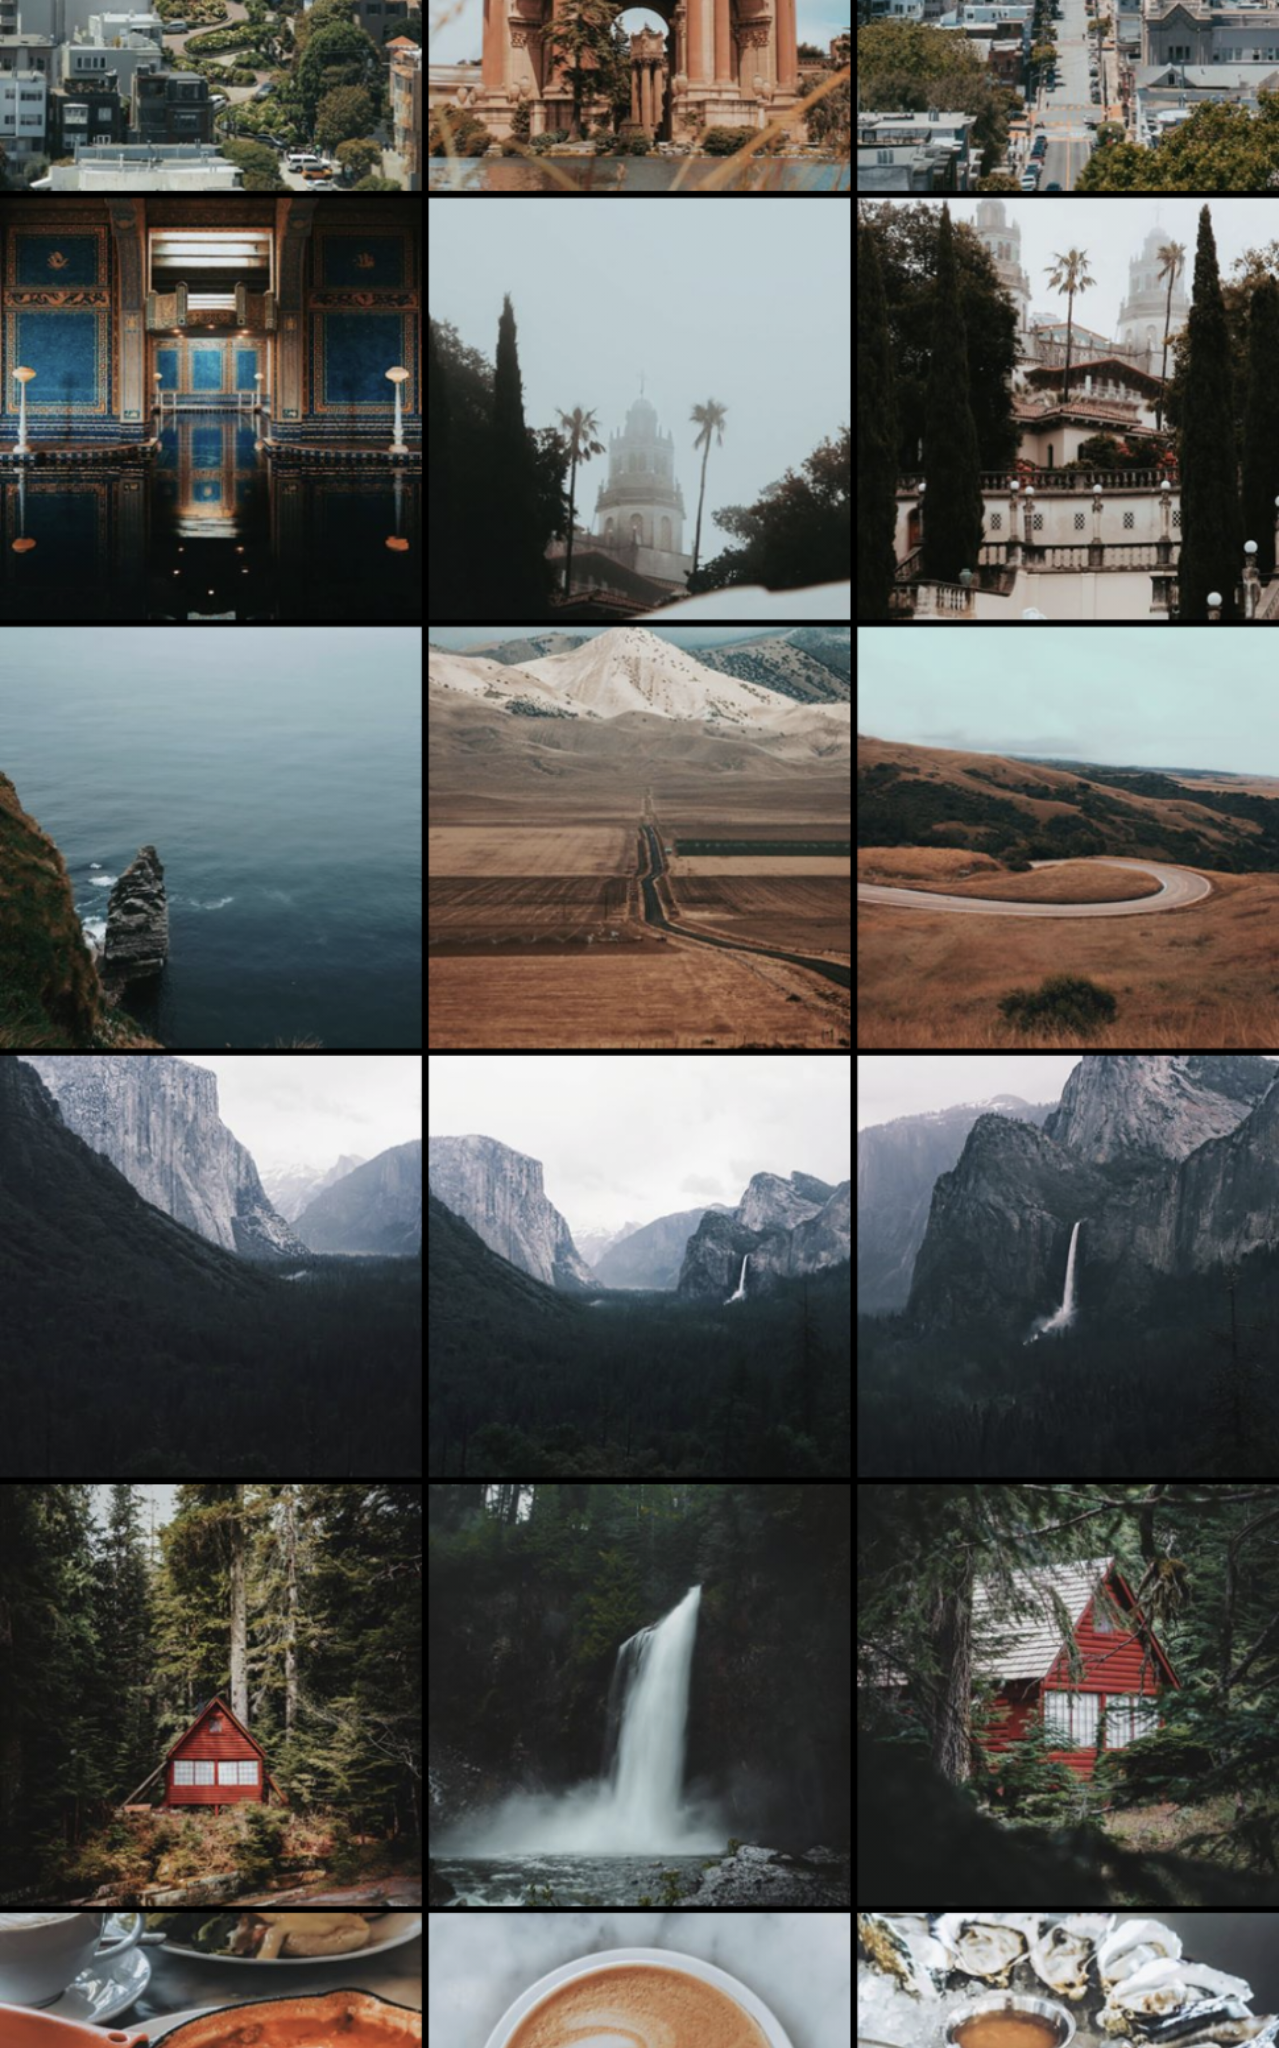
Nope - Not a bad photo but feels unbalanced due to portions and colour contrast.
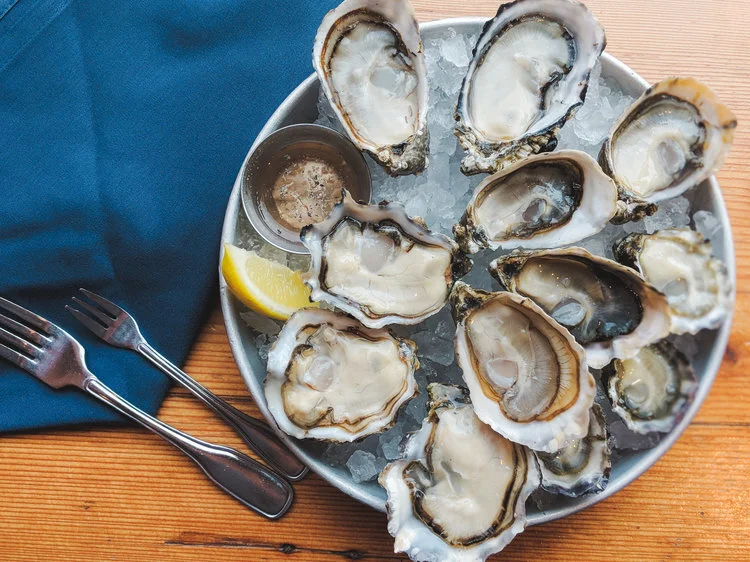
Nope - Added forks and decided just to focus on the oysters, they steal the show anyways. But felt there was too much negative space on the left.
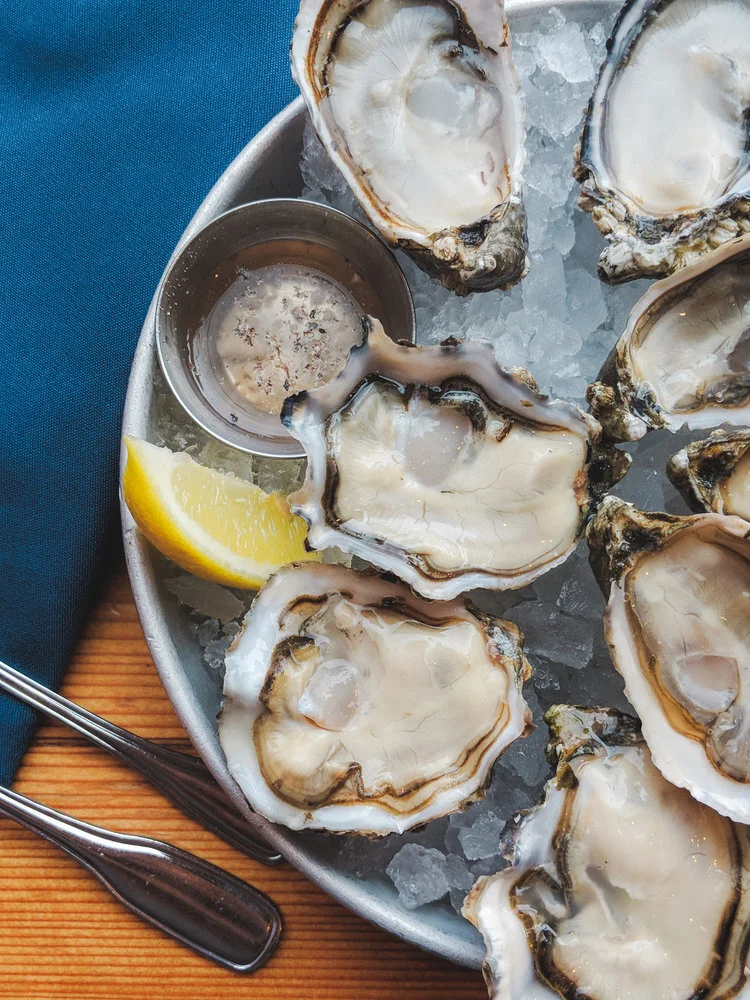
Winner - Cropped the photo from horizontal to portrait, this gives the idea of mystery and that there is a bigger story.
Selective edits
I’m letting out my secret but not a secret to most photographers. Once I came across this feature in Lightroom, I started editing in a different way and never looked back. I mainly use this to fix lighting, sharpen eyes or smooth objects/areas.
In these edits, I soften the sky/cloud details and brighten up the road cross intersection, but did not let it impact any other areas.
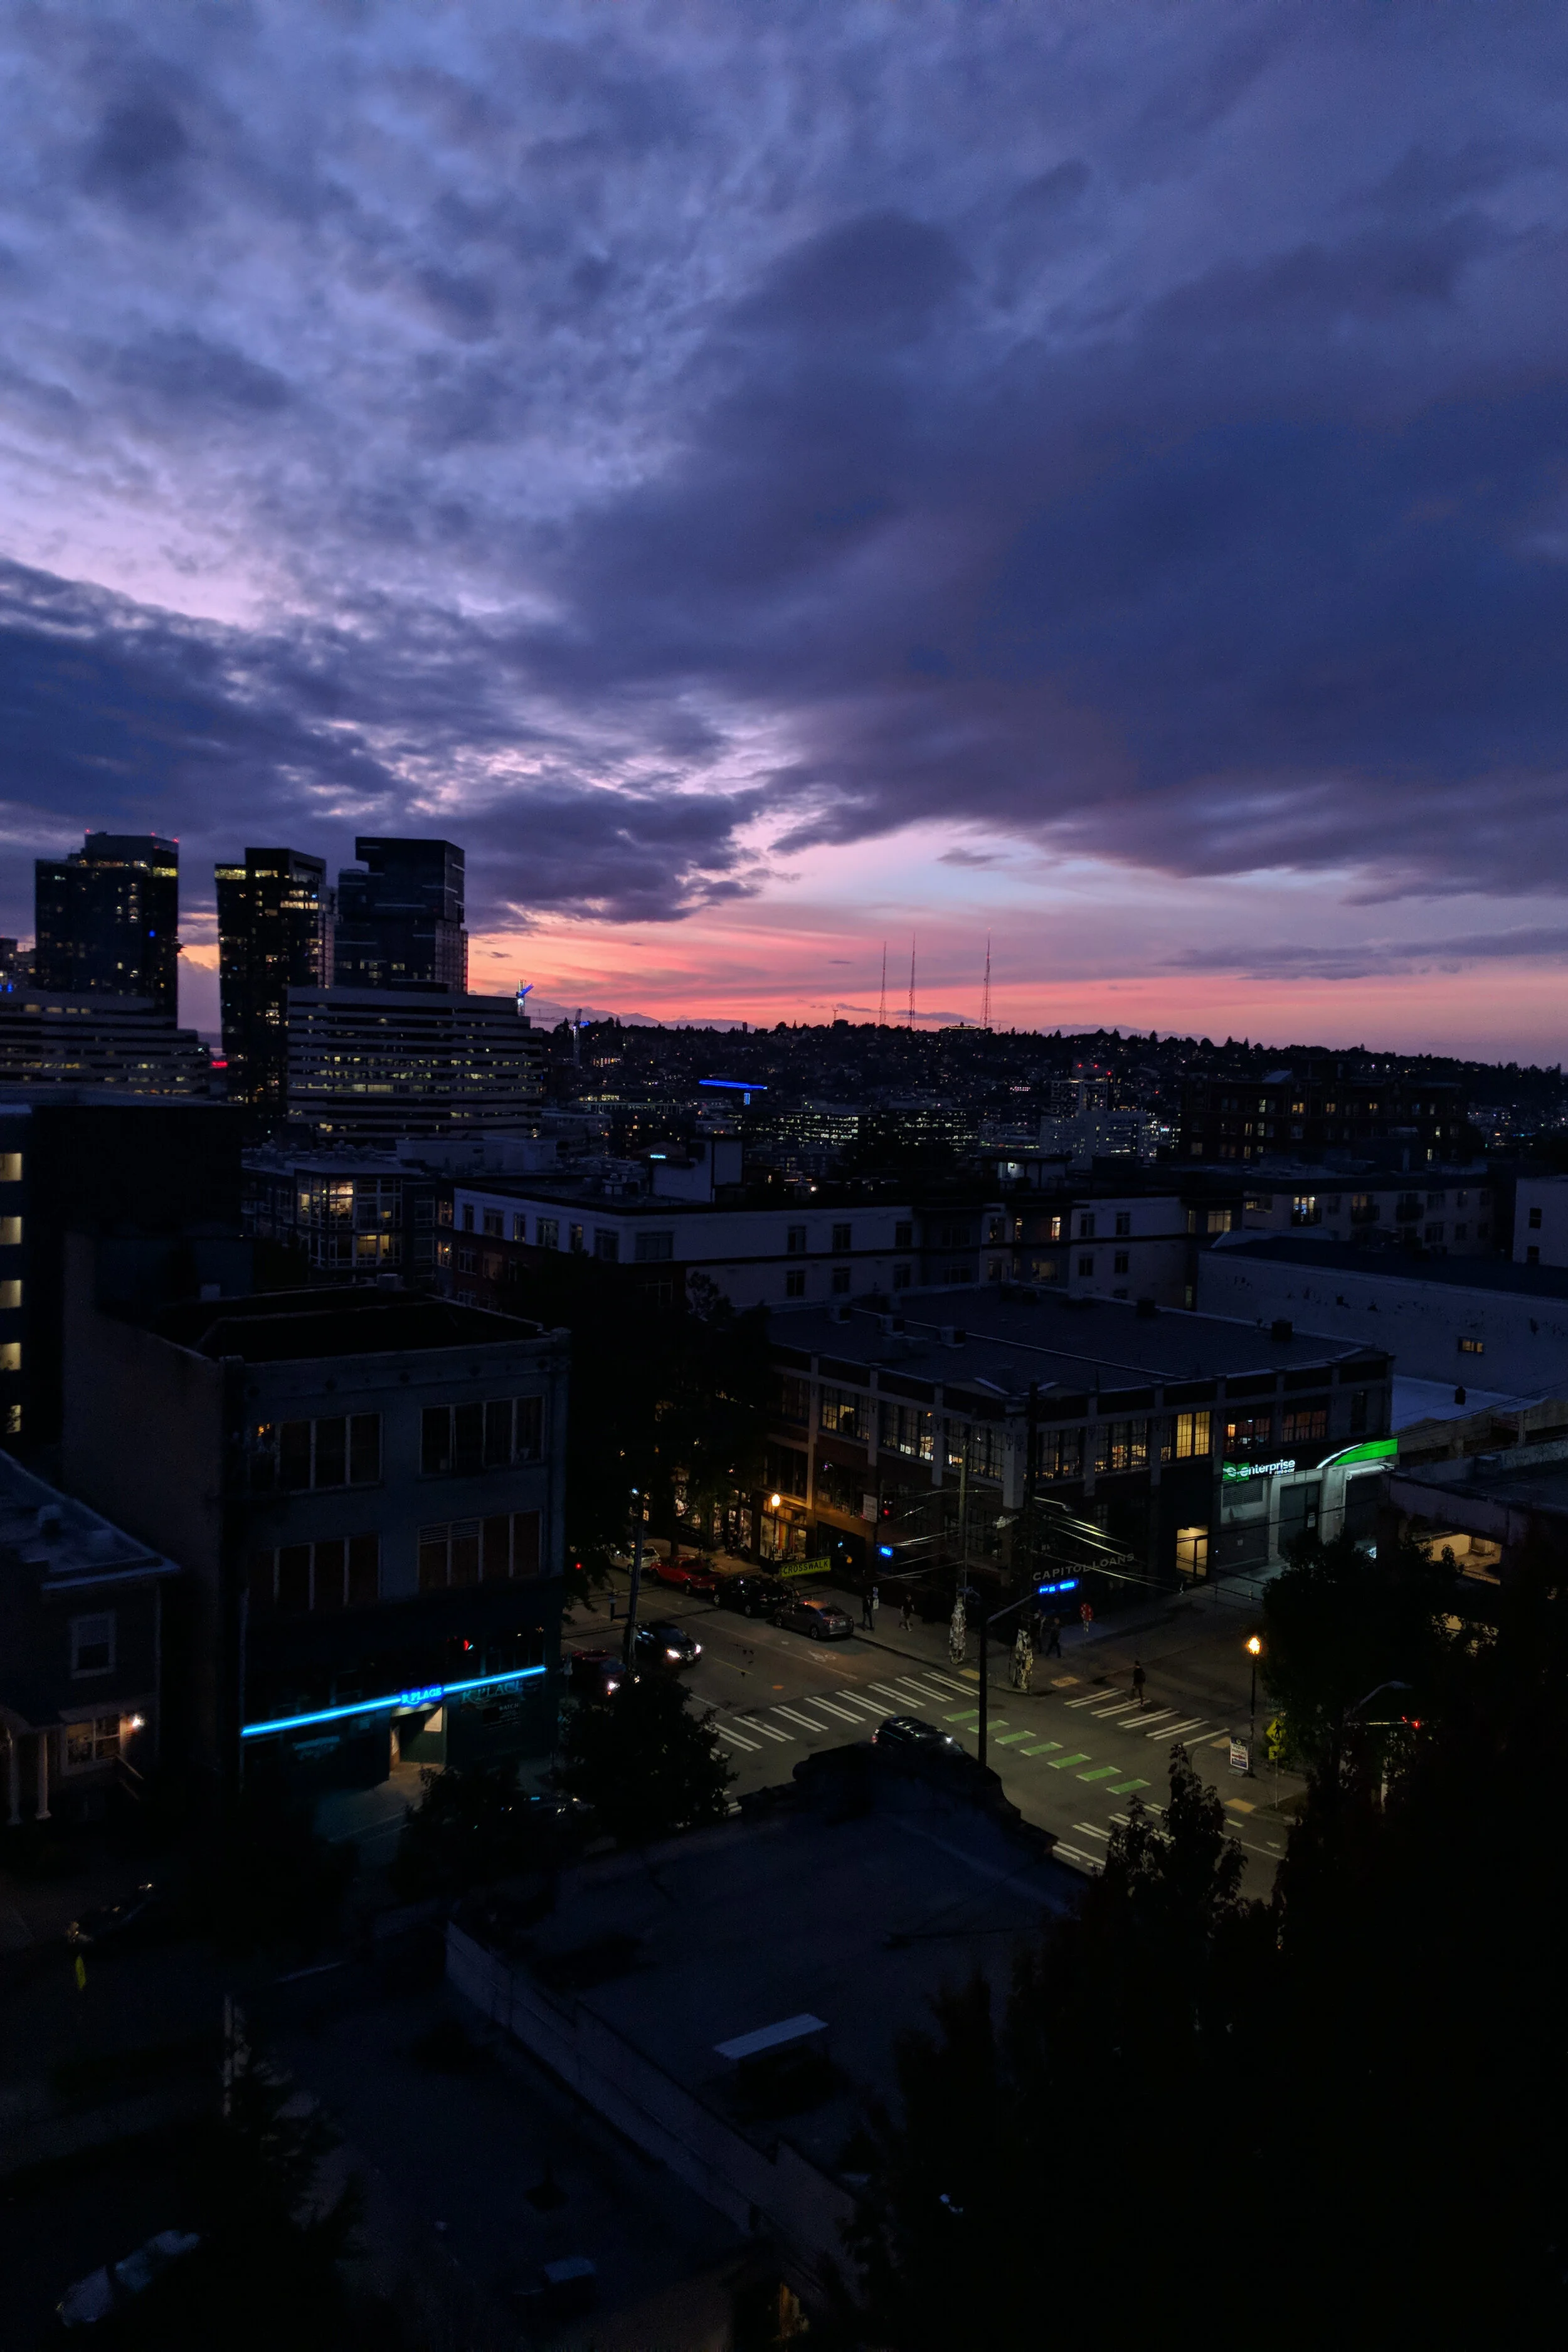
Before
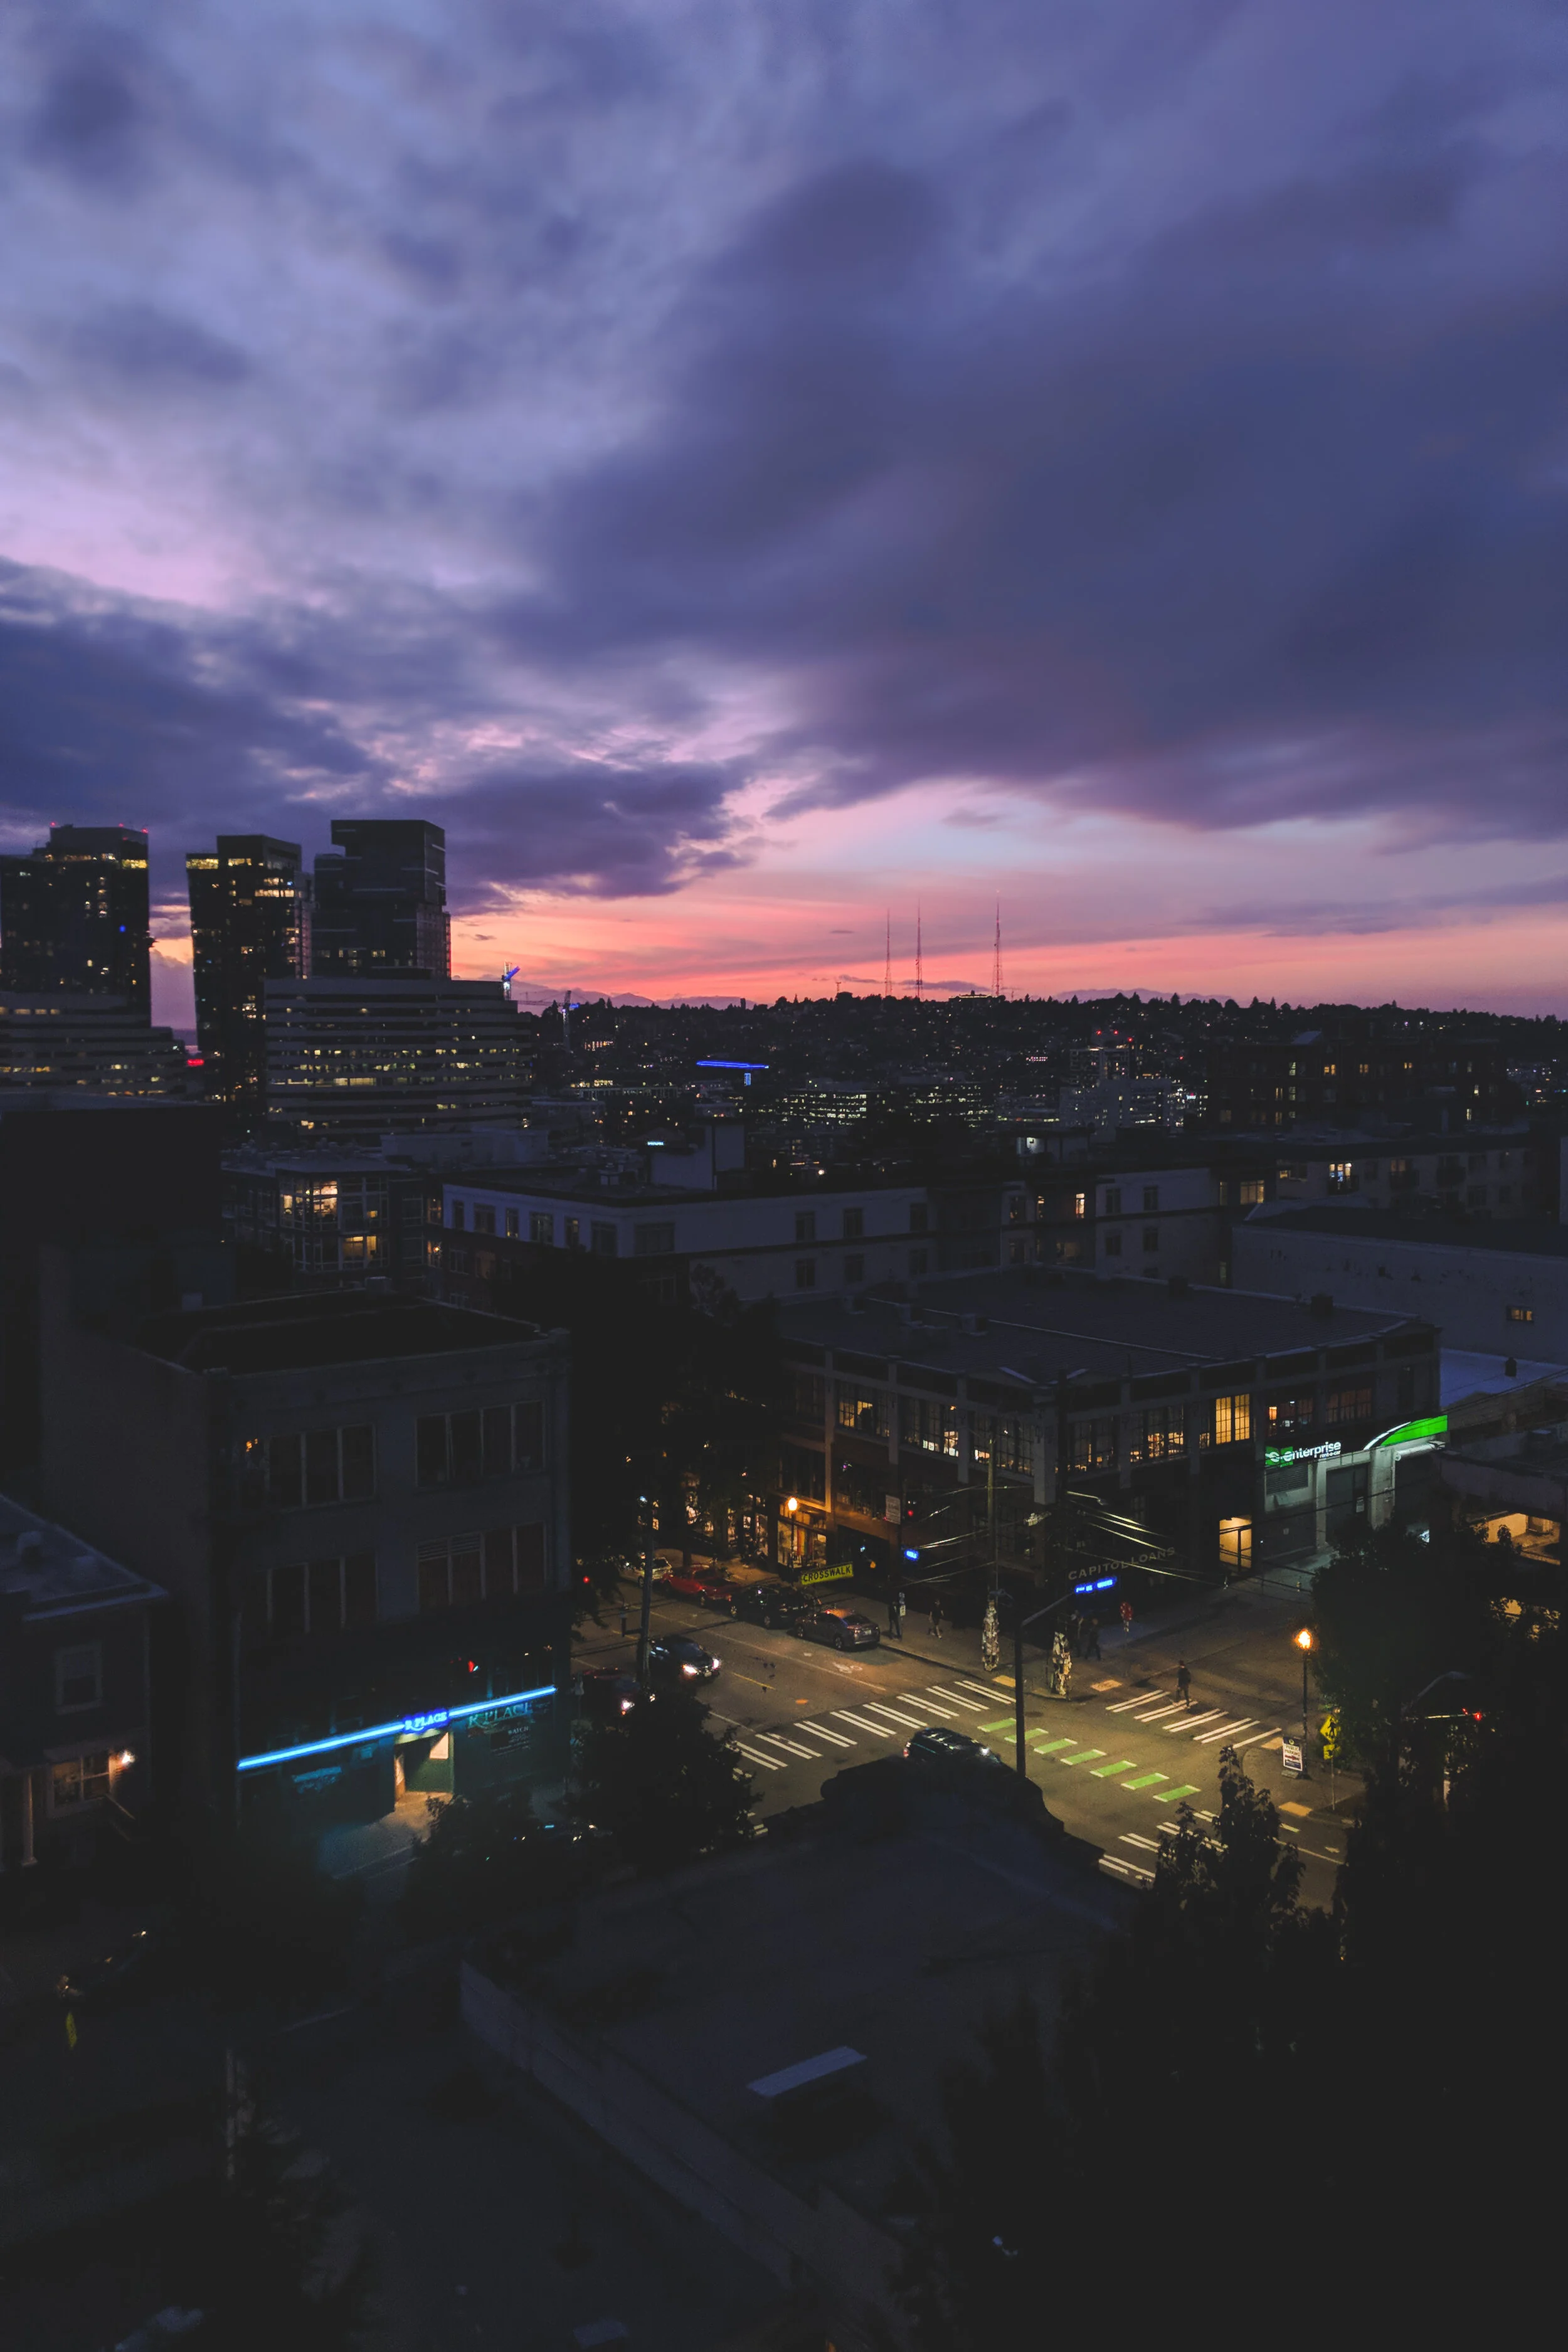
After
Edit in more apps
Many bloggers use a second app to alter or add effects. Sometimes I do this myself when I envision a certain look and unsure how to create it in Lightroom.
So my little cheat apps are VSCO, Retouch or Facetune.
In VSCO, I tend to use their presets, Y-skew and crop for 4:5 for Instagram.
If I see a little tiny speck, do a touch up in the Retouch app since I sometimes find the cloning tool better in there. Use Facetune to smoothen an area or increase the details, if not achievable in Lightroom.
Before

After
Review
After I finish editing, I usually allow 1-2 days before I review it again. Just to make sure I did not over edit the photo, to make changes or refine, and to ensure I’m just generally happy with it. To me, it’s art, so it does not need to be rushed.

First edit

Second edit
Strategic thinking
To take it one step further, I use an app called Preview to plan my grid on Instagram. This is super extra but the planner in me loves to be intentional. I usually group images that have a theme such as, colours, food, buildings or type.